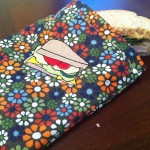
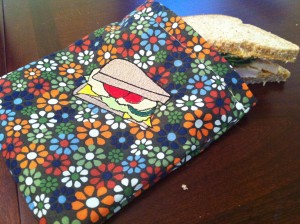
I have always been a bit of an environmentalist and when it comes to disposable plastic items, they make me crazy. I like all things functional and reusable. But I love anything handmade that is functional and reusable. My sandwich bag encompasses all of these ideals into a quick and easy project. I have been researching food safe fabrics and ripstop nylon seems to be most common. I found it at Joann Fabrics in the utility fabric section.
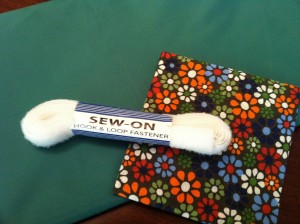
• Cotton outer fabric
• Hook and loop tape 3/4 inch wide
• Iron
• Pins
• Tear away stabilizer
• Embroidery design
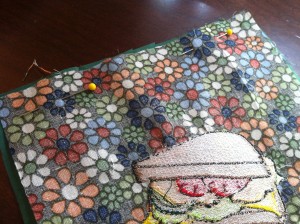
Cut both the outer fabric and the ripstop nylon to 16'' x 7 1/4''. Next, I always fold the outer cotton fabric in half to make a 8'' x 7 1/4" rectangle and then press. This way I can find the middle of the front, from seam to crease. This is an easy way for me to center my embroidery design.
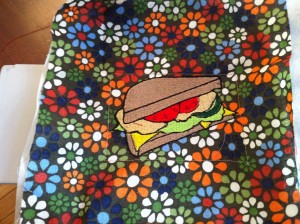
Next, hoop with a tear away stabilizer. Center the fabric with your design in mind. I always use a fix stitch on both the stabilizer then the fabric, I can never center the design if i hoop the fabric.
Stitch out the embroidery using the colors indicated.
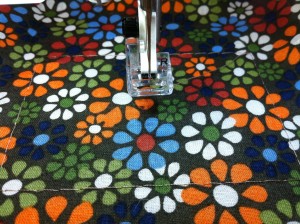
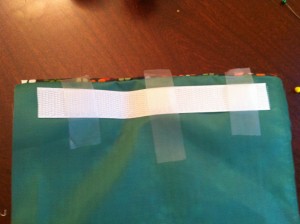
Turn the bag right side out and pin or tape the hook and loop fastener to the ripstop side of the bag, about a quarter inch from the top of each side. Use a straight stitch through the middle of the hook and loop on each side.
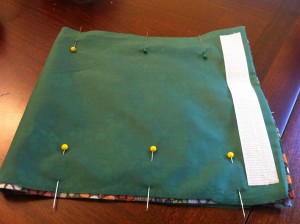
Next, turn the bag inside out so the ripstop nylon is facing up. Pin both of the unstitched sides then stitch.

Great job! Thanks so much.
You are so crafty and creative!!!
So CUTE!