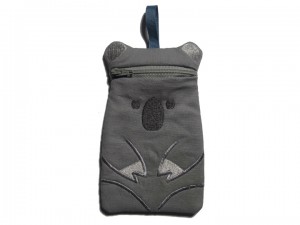
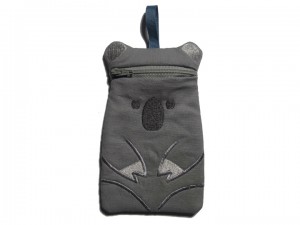
In the hoop projects are fun for everyone regardless of skill level and today's featured project is no exception. If you are a beginner do not let the zipper scare you off. Just follow the instructions below and you will have one cutie-pie carry all!
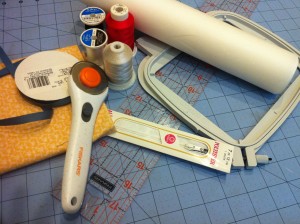
Materials:
Tear away stabilizer
Zipper- 7 inches long (can be longer) plastic teeth
Ribbon almost any width 4"- 10" long
Tape
Thin cotton batting
Fabric (all pressed):
For the body- the main fabric:
6" x 3" piece
6" x 7" piece
6" x 8" piece
For the liner:
6" x 3" piece
6" x 7" piece
6" x 8" piece
The batting:
6" x 3" piece
6" x 7" piece
6" x 8" piece
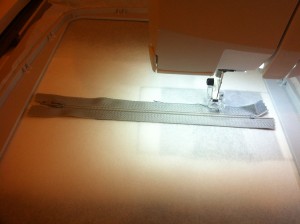
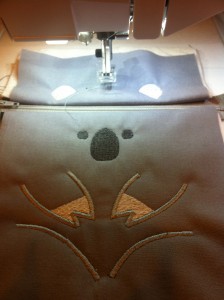
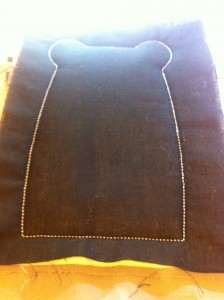
Hoop the stabilizer and sew step one. This is the placement line for the zipper.
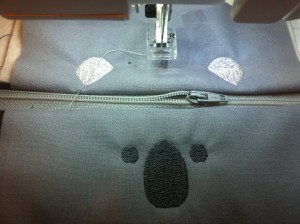
Place the zipper centered between the two lines with the pull on the left.
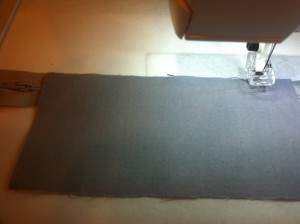
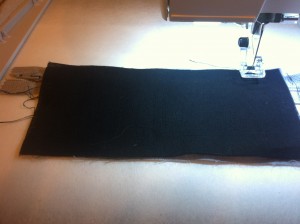
Next place the piece of 6" x 3'' main fabric right side facing down with the 6" side even with the top zipper placement line.
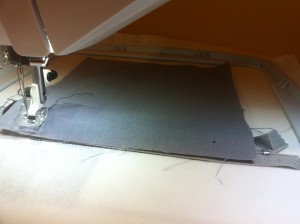
Lay the 6" x 3" liner piece directly on top of the main fabric. Then stitch step two. This will secure the zipper. Fold the two pieces back.
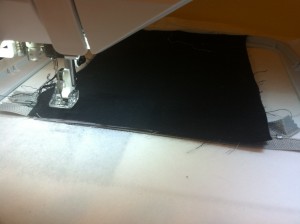
Next place the piece of 6" x 7'' main fabric right side facing down with the 6" side even with the bottom zipper placement line.
Lay the 6" x 7" liner piece directly on top of the main fabric. Then stitch step thee. This will secure the zipper. Fold the two pieces back.
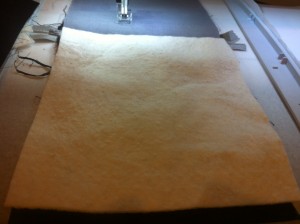
Now insert the batting between the lining and the main fabric. Above the zipper use the 6'' x 3'' piece. Lift the main fabric and lay the batting centered over the lining fabric and gently bring the main fabric over. Repeat below the zipper with the 6'' x 7'' piece.
Then follow the 4 next color changes:
step 4- nose and eyes
step 5- paws
step 6- satin stitches of arms and legs
step 8- ears
Unzip the zipper a little more than half way but make sure the teeth are very close together. You will be turning the koala right side out through the open zipper.
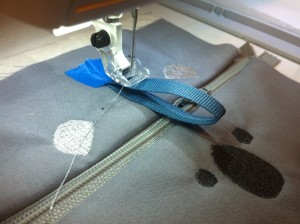
Now for the ribbon. Depending on your desired outcome you may prefer the ribbon longer than shown. My ribbon is 4" long but my mom asked for one 10" long so she could use it as a wristlet. Fold the ribbon in half and if it is 4" long the folded part should touch the tip of her nose then tape to secure.
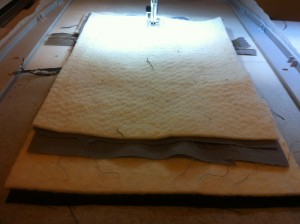
Now for the remaining 6" x 8'' pieces. Start with the main fabric and place it right side down centered over the project. Next lay the batting directly over it and last the liner fabric.
Now sew step eight. Then remove from the hoop and trim excess fabric and stabilizer.
Turn right side out though the zipper opening and that's it!
